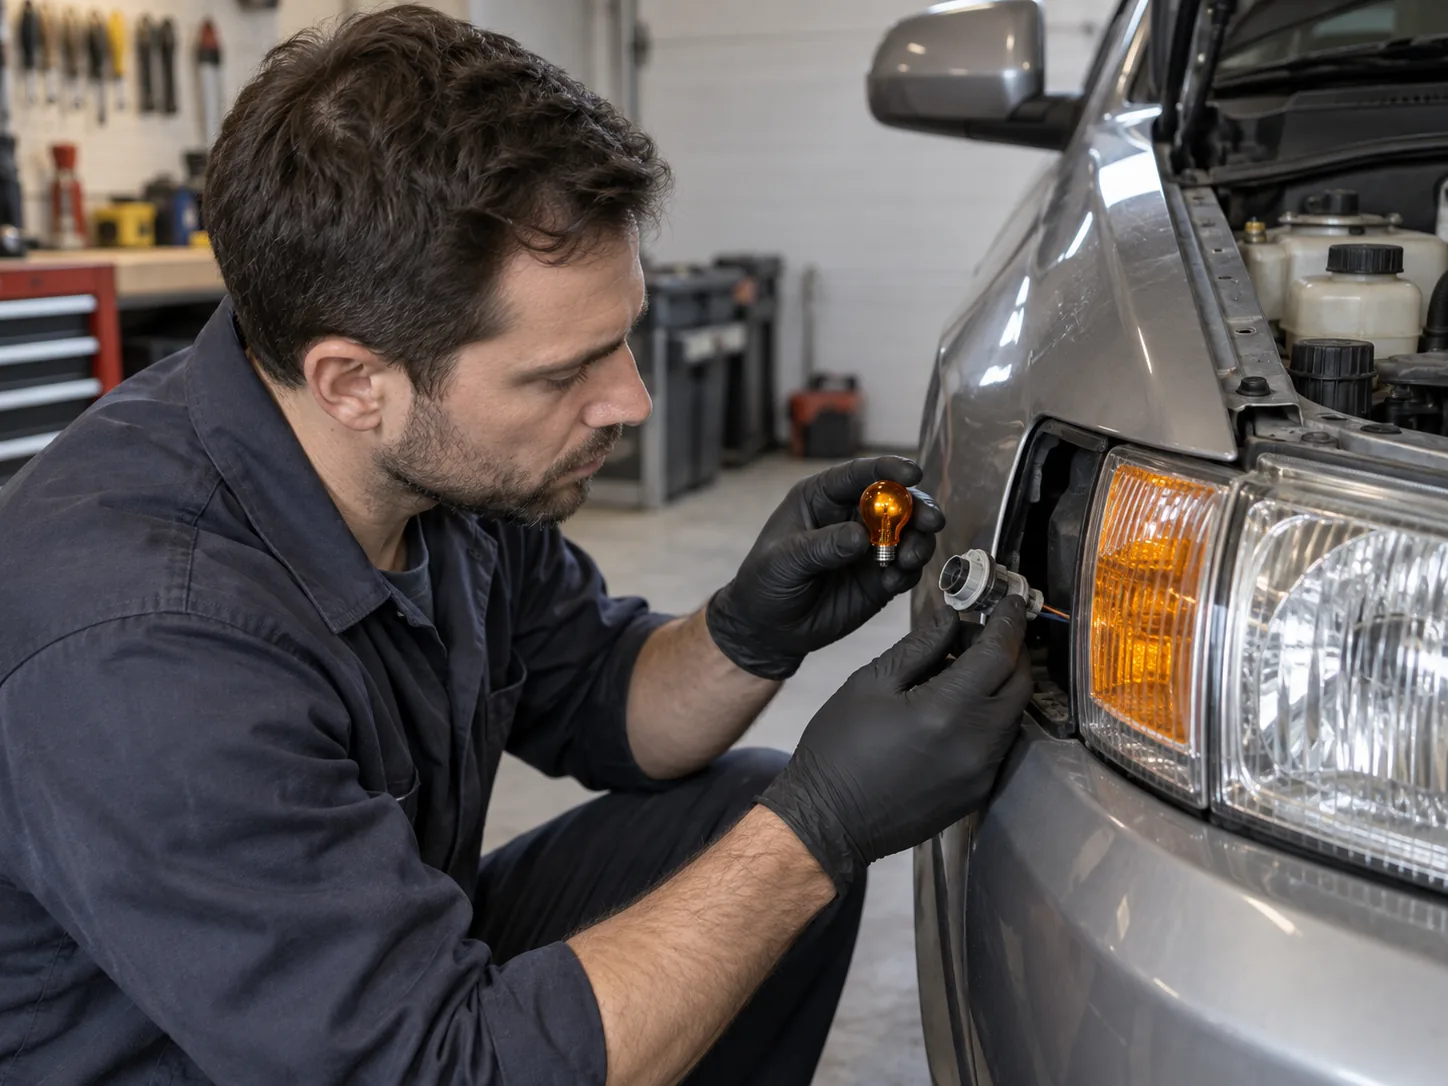

A turn-signal bulb is not a safe “buy by car model” item unless the exact trim and lamp position are confirmed. Start with the owner’s manual or the vehicle maker’s parts lookup, then match the bulb code, base and electrical behavior. Only after that should you decide whether to keep halogen or consider an LED.
This guide is a research-based fitment and safety guide, not a hands-on product test. It explains what to verify, what hyperflash can indicate, and when not to install a bulb or add electrical parts.
Quick answer: check these before you order
- Identify the position. Front, rear, side marker and mirror lamps may use different parts, even on the same vehicle.
- Confirm the exact bulb or assembly. Use the manual or official parts lookup for your year, make, model, trim and position. Some vehicles use a sealed LED module rather than a replaceable bulb.
- Match the physical base and function. Compare the printed bulb code, connector/base, contact layout and whether the original lamp is single- or dual-function. Do not choose based only on a similar-looking socket or a general online list.
- Check color and behavior. The replacement must preserve the intended signal color and operation. A switchback bulb is only a candidate when the vehicle’s original front lamp uses the corresponding dual-function setup and the product application details confirm it.
- Plan for warnings before choosing LED. If a new LED causes rapid flashing or a bulb warning, stop and diagnose the vehicle-specific cause instead of ordering a guessed resistor or decoder.
If any of those checks disagree, do not order yet. Ask a parts department or qualified technician to identify the correct service part.
How to identify the correct turn-signal bulb
1. Look up the exact lamp position
Open the vehicle owner’s manual and look for the exterior bulb replacement chart. If the chart is incomplete, use the vehicle manufacturer’s parts catalog or ask a dealer using the VIN. A year/make/model search result may omit trim, body-style, mid-year or lamp-package differences, so treat it as a lead rather than final confirmation.
2. Record the bulb marking and base
If the manual identifies a replaceable bulb and the service instructions allow access, remove the original only when the lamp is off and cool. Record the code printed on it and take a clear photo of its base and contacts. Do not force a socket or open a sealed lamp. Match the replacement’s code, base, contact arrangement, voltage and physical dimensions to the vehicle-specific application information.
A bulb code alone is not a universal vehicle fitment guarantee. The same general bulb family may appear in different positions, while a vehicle may have multiple lamp configurations. Our 3157 switchback guide explains the extra checks for that particular dual-color product type.
3. Confirm the lamp is serviceable
Some vehicles have a replaceable bulb; others use an integrated LED lamp assembly. If the manual describes a complete lamp/module replacement, there is no separate bulb to select. Do not pry open a sealed assembly based on a generic bulb guide.
Halogen, LED or switchback: which path fits?
- Stay with the specified halogen type when you want the closest match to the original electrical behavior or the vehicle’s application information does not confirm an LED replacement. It is also the simpler choice when a prior LED caused warnings or rapid flashing.
- Consider an LED replacement only after confirming exact fitment, lamp color, dimensions and the product’s vehicle/application notes. LED does not repair a bad ground, damaged socket, water intrusion or other circuit fault.
- Consider a switchback only for the correct front position. These products combine two lighting behaviors, but the vehicle’s factory wiring, lamp design, lens and exact product application all matter. Do not infer compatibility from “3157” or “7443” alone, and do not use a white flashing signal where the vehicle is designed for an amber signal.
Federal lighting requirements are set out in FMVSS No. 108, but that standard is not a vehicle-specific approval of every aftermarket bulb. Requirements and inspection rules can depend on the vehicle, lamp and jurisdiction. Check local rules and do not assume a retailer’s “street legal” wording settles your particular application. Read the current federal lighting standard.
What hyperflash means—and what it does not prove
Hyperflash is a turn signal blinking faster than its normal cadence. After an incandescent bulb is replaced with an LED, the lower electrical load can be interpreted by some vehicle circuits as a lamp failure. Sylvania describes this behavior in its load-equalizer guidance. But rapid flashing is a symptom, not a diagnosis: a failed bulb, poor connection or other vehicle fault can also require attention.
First check whether every lamp in the affected direction works, including front, rear and side indicators where fitted. If rapid flashing began immediately after an LED change, return to the vehicle-specific bulb/application information and the LED maker’s troubleshooting instructions. If it was present before the change, or persists with the original bulb, have the circuit checked rather than adding a load device.
Do not guess at a resistor, decoder or flasher
Different vehicles use different monitoring and flasher arrangements. An electronic flasher, load resistor or decoder is not a universal fix, and the wrong part or wiring method can create new faults. Sylvania warns that load equalizers become very hot and must be installed with appropriate heat management; that is a reason not to improvise or attach one near plastic, wiring or trim.
- Do not splice wires, bypass a warning, increase a fuse rating or stack electrical modules based on a generic forum answer.
- Use only a vehicle-specific solution documented by the vehicle or component maker. If installation requires wiring changes and you are not trained for the work, use a qualified automotive electrician.
- Stop if you find melted insulation, corrosion, water in the housing, repeated fuse failure, a burning smell, or a warning that remains after following the documented instructions.
Sylvania load-equalizer guidance explains the heat concern; it is not a substitute for instructions for your vehicle or the exact device.
After replacement: check the complete signal
With the vehicle stationary and following its manual, test the left and right turn signals and hazard lamps. Confirm that the intended front, rear and side lamps illuminate with the expected color and flash behavior, and that the dash indicator shows no new warning. Check visibility from more than directly behind the vehicle. If a lamp is dim, intermittent, the wrong color, or flashes abnormally, do not treat the installation as finished; refit the original bulb if safe and arrange diagnosis.
When an AUXITO bulb may be worth comparing
Once you have confirmed the exact socket and position, you can compare the current AUXITO turn-signal and switchback listings. AUXITO’s catalog describes its own products; those manufacturer claims are not independent testing and do not establish fitment for your vehicle. Recheck the product page’s application notes, dimensions and return terms before buying.
Affiliate disclosure: We may earn a commission if you buy through the following link, at no additional cost to you.
Compare AUXITO turn-signal LED options
Frequently asked questions
How do I know which blinker bulb fits my car?
Confirm year, make, model, trim and exact lamp position in the owner’s manual or official parts catalog. If service instructions allow bulb removal, also compare the old bulb’s printed code and base. When those checks do not agree, ask a dealer or qualified parts specialist.
Will an LED turn-signal bulb cause hyperflash?
It can on some vehicles because the circuit may interpret the LED’s lower load as a failed incandescent bulb. Vehicle design varies, so confirm the exact product application and use only a documented vehicle-specific correction.
Can I use a switchback bulb in any 3157 or 7443 socket?
No. A socket code alone does not verify the vehicle’s factory lamp function, lens, wiring or product compatibility. Check the exact front position and application information; do not assume a switchback is appropriate for a rear lamp.
Are load resistors a simple plug-in fix?
Not universally. They may become very hot, and vehicle wiring and mounting conditions differ. Follow the exact maker instructions and get qualified help rather than improvising a wiring or mounting location.
Sources and limitations
- Electronic Code of Federal Regulations, FMVSS No. 108 — federal motor vehicle lighting requirements; not a fitment lookup for an individual vehicle.
- Sylvania Load Equalizer Installation Guide — source for the limited explanation of LED load and equalizer heat. Product guidance is manufacturer-specific.
- AUXITO turn-signal and switchback collection — used only to identify the brand’s current product category, not to make an independent performance or fitment claim.