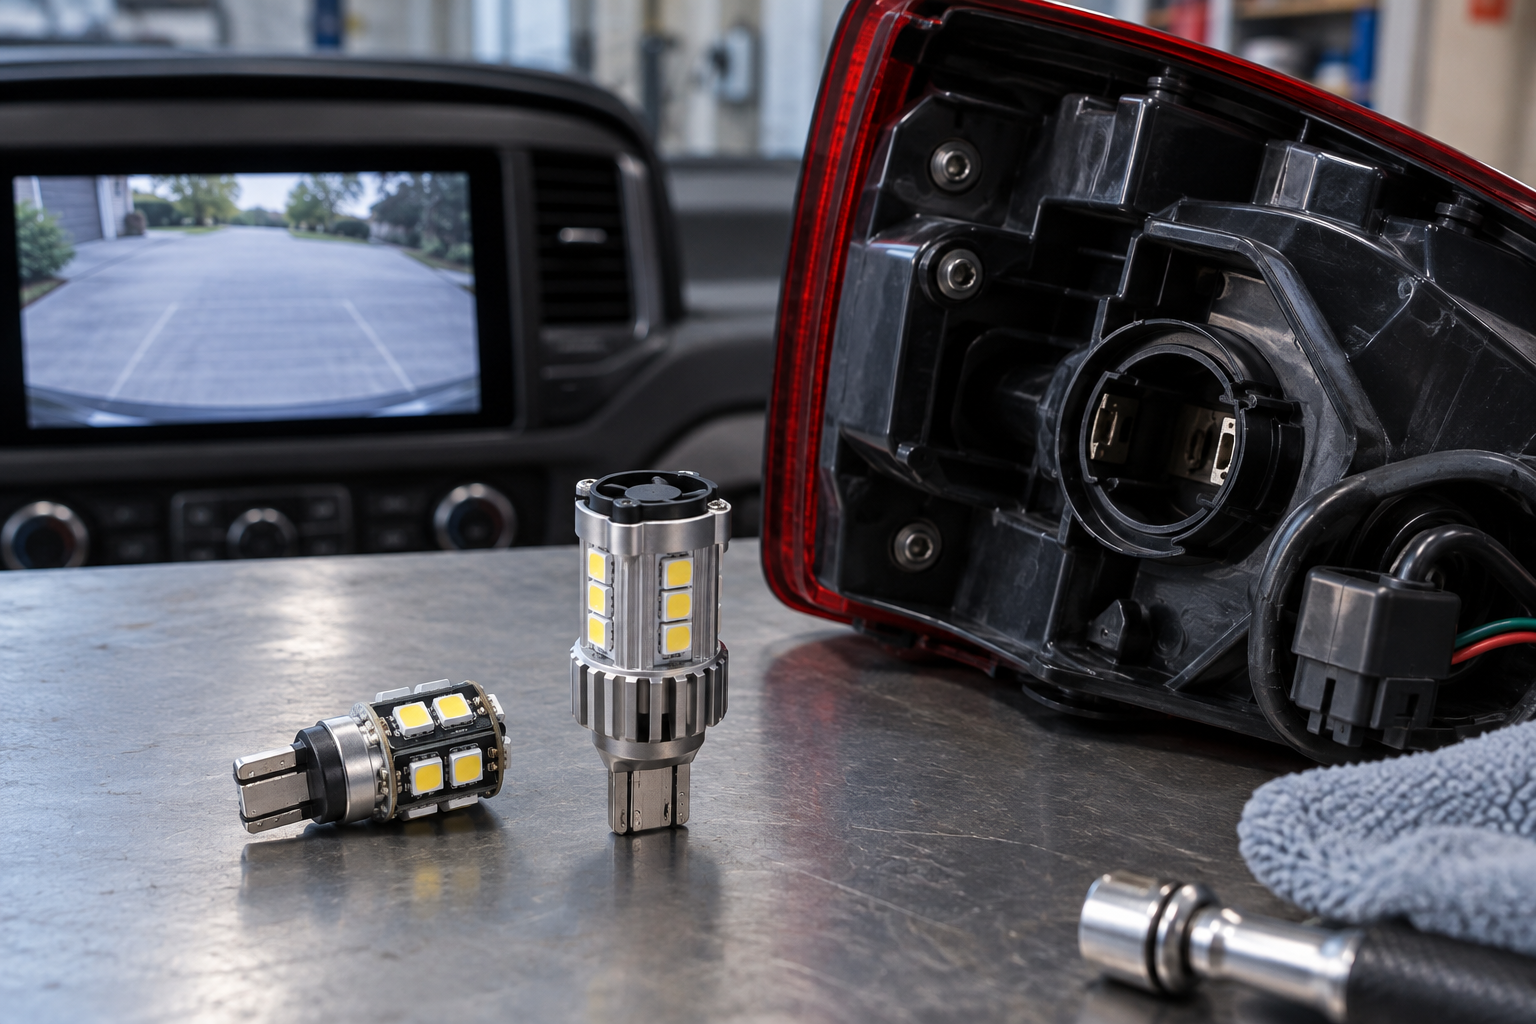

Replacing a reverse-light bulb is a small job only after you know what is actually fitted. The bulb code, lamp position and room inside the housing all matter; a make-and-model guess is not enough. Start with the vehicle’s owner’s manual or official parts lookup, then compare it with the marking on the removed bulb if access is safe.
Quick decision: buy nothing until the manual or vehicle-specific parts information identifies the reverse-lamp bulb and the old bulb/socket agrees. If the vehicle uses a sealed LED unit, has damaged wiring, or the bulb position is uncertain, this is not a bulb-only replacement.
First, identify the exact reverse-light bulb
- Confirm the position. Use the owner’s manual lamp chart or a vehicle-specific parts catalog to identify the reverse/backup lamp, not a nearby brake, tail, turn or cargo lamp.
- Record the bulb code. If the manual gives a code, write it down. If the manual is unclear and the bulb is safely accessible, read the marking on the old bulb. Do not infer the code from the vehicle make, model year, a photo, or a generic list.
- Check the base and contacts. Compare the old bulb with the replacement: wedge or bayonet base, contact count, overall length and any keying tabs. Similar-looking codes are not automatically interchangeable.
- Check the housing and electrical notes. Confirm that the replacement fits the available space and that the vehicle’s bulb-monitoring system, if any, is addressed by the exact product fitment notes. A vehicle finder result is a lead to verify, not permission to ignore the manual or the old bulb.
AUXITO’s current reverse-light catalog lists several socket families, including T15/921, 7440/7443, 3156/3157 and 1156/1157. That is a catalog of products, not a universal vehicle fitment chart: the company also directs buyers to confirm the vehicle’s bulb size and notes that some vehicle electrical systems can be exceptions. Use the code and application for your exact vehicle before ordering.
What the bulb code does—and does not—tell you
- A code printed in the owner’s manual identifies the specified bulb for that position and configuration. Check trim or body-style notes in the same manual.
- A code on the removed bulb is useful evidence of what was installed, but it does not prove a previous owner fitted the correct part. If the manual and bulb disagree, pause and confirm with an official vehicle parts source or a qualified shop.
- A product listing that includes your bulb code means the seller offers a product for that code; it does not establish that every trim uses it, that it will clear the housing, or that the vehicle will accept an LED without a warning.
- A sealed rear-light assembly may not have a replaceable bulb. If the manual describes a lamp unit rather than a bulb, do not try to force a bulb into it.
For example, AUXITO’s 921 product page describes the listed bulb’s socket applications and tells buyers to confirm the required size from the owner’s manual or original bulb. Treat those statements as the manufacturer’s listing, not independent testing or a guarantee for every vehicle.
Should you keep halogen or switch to LED?
If the current bulb works correctly and your priority is a low-risk replacement, an equivalent bulb type specified for the vehicle is the straightforward choice. An LED replacement may be worth considering when you want that lighting technology and can verify the exact fit, housing clearance and electrical behavior. Neither option fixes a cloudy lens, water intrusion, a poor ground or a damaged connector.
- Choose a like-for-like replacement when you want to restore the original function with the fewest new compatibility variables.
- Consider an LED only after checking the exact socket, product dimensions, application notes, monitoring behavior and return terms for your vehicle. Do not rely on broad claims such as “fits most cars” when the listing gives an exception or trim-specific note.
- Delay the purchase if the old bulb code is missing, the manual and bulb disagree, the housing is sealed, or the socket shows heat damage or corrosion.
Before opening the lamp
Read the vehicle’s own bulb-replacement instructions first. Access varies: some vehicles provide a service opening; others require trim or lamp removal. Follow the manual’s sequence and safety precautions rather than assuming every twist socket or lens is removed the same way. Let a recently used lamp cool, keep the vehicle secured against movement, and do not work beneath a vehicle supported only by a jack.
Stop and use a qualified technician if access requires unfamiliar disassembly, the lamp is sealed, wiring is melted or brittle, a fuse repeatedly fails, moisture is inside the assembly, or a warning remains after fitting the correct bulb. Those symptoms need diagnosis; adding a resistor or changing wiring by guesswork can create heat or damage.
Check the result before putting the tools away
- Use the vehicle manual’s specified test conditions. Keep the vehicle stationary and secured; if reverse must be selected for the check, use a helper in the driver’s seat with the brakes applied and keep everyone clear of the vehicle’s path.
- Confirm the reverse lamps illuminate and that the other rear lamps still behave normally. If a warning appears, record it and re-check the bulb code and seating before considering any additional part.
- If the vehicle has a backup camera, check the image in a safe, stationary test. A brighter-looking bulb is not automatically a better result if the picture loses detail or the light is uneven.
- Refit every cover, seal and trim part as the manual specifies. If a gasket will not sit flat or the lens will not close without force, stop and check the bulb dimensions and installation.
Common buying mistakes
- Ordering by vehicle name alone: model year, trim, body style and lamp package can change the application. Use the manual or an official vehicle-specific lookup.
- Assuming neighboring bulb codes are interchangeable: compare the exact code, base, contacts and product application instead of relying on a marketplace title.
- Assuming “CANbus ready” means warning-free on every vehicle: check the exact listing’s exceptions and your vehicle’s behavior; do not add an electrical decoder unless its application and installation are confirmed.
- Blaming the bulb for every dim reverse light: inspect the lens, socket and connector. A cloudy lens or damaged connection needs its own fix.
- Buying before checking a sealed unit: some assemblies are replaced as a module rather than with an individual bulb.
Where AUXITO fits into the decision
Once your manual or official parts information and the original bulb agree on the reverse-lamp code, compare only the matching AUXITO listing. The company’s catalog currently groups reverse/backup options by bulb size; its listings include different socket families and product-specific fit notes. Availability, specifications and exceptions can change, so check the live page for the exact item rather than relying on a general collection description.
Next step: compare the current AUXITO reverse-light options only after confirming your vehicle’s exact bulb code, lamp position and housing clearance: Browse AUXITO reverse and backup light bulbs.
Disclosure: As an AUXITO affiliate, I may earn a commission if you buy through this link, at no extra cost to you.
Related guides
- See the Car Lighting hub for other exterior-lighting guides.
- If the manual identifies a 921 bulb, use the 921 bulb guide for position-specific checks.
Sources and scope
- AUXITO reverse/backup-light collection — checked October 18, 2026 for the socket families currently shown in the catalog.
- AUXITO 42H 921 product listing — checked October 18, 2026 for the manufacturer’s application notes and reminder to confirm vehicle bulb size. These are manufacturer claims, not independent test results.
- 49 CFR 571.108, Standard No. 108 — federal requirements covering vehicle lamps; this article does not determine state or local rules for a particular vehicle modification.