
Brake and tail bulbs are easy to misidentify because several sizes look alike in a parts listing. The replacement must match the socket, the lamp’s function, and the lens. In a combined tail/brake lamp, the bulb also has to provide a clear dim running-light level and a brighter brake-light level.
This guide shows you how to identify the bulb before ordering, when a halogen replacement is the straightforward choice, and what to test if you choose an LED. Exact fitment varies by vehicle and lamp position, so use your manual and the bulb currently installed rather than a generic vehicle list.
Identify the correct brake or tail bulb
- Look up the exact year, make, model, and trim in the owner’s manual. Find the separate entries for brake, tail, turn, reverse, and high-mount stop lamps. You can cross-check the part number with SYLVANIA’s Bulb Finder, but it advises users to consult the owner’s manual and may not list every vehicle.
- Read the code printed on the old bulb and photograph its base. Check whether it is a push-in wedge base or a round bayonet base that pushes in and twists.
- Determine whether the lamp is single-function or dual-function. A combined tail/brake position needs the specified dual-output bulb; a single-output bulb may illuminate but fail to provide both functions correctly.
- Compare the lens color and required lamp function with the manual and local rules. Never assume a white bulb is appropriate behind a colored lens.
If the old bulb is missing, the code is unreadable, or the manual and parts finder conflict, do not guess from the car make alone. Ask the vehicle maker or a qualified parts specialist to confirm the exact position and bulb.
Specifications to match before comparing brake and tail bulbs
- Bulb code and base: Match the manual entry, printed bulb marking, and wedge or bayonet contact layout. A similar-looking socket does not prove interchangeability.
- Light function: Confirm whether the lamp needs a single-output bulb or dim tail plus bright brake operation. The exact product must support that function.
- Color: Match the required lamp and lens color for that position; do not assume a white bulb is right behind every lens.
- Electrical behavior: Check vehicle voltage and product-specific warning or hyperflash guidance. Do not add a resistor by guesswork.
- Power and output: Compare watt and lumen figures only after code, function, and color match; note whether figures are per bulb or per pair. They do not establish visibility or compatibility.
As common identification clues, 7443 and 3157 are wedge-base families; 1157 is a bayonet-base family. Some applications use dual-intensity bulbs for combined tail/brake operation, while related single-output sizes cannot provide that same two-level function. Treat those labels only as clues: confirm the exact bulb code, contact layout, and lamp function in the vehicle manual. Similar appearance or a seller cross-reference does not prove interchangeability.
Halogen or LED: a quick decision
- Need a dependable replacement quickly: Match the specified halogen bulb. Confirm single- or dual-function operation and lens color, then test every lamp mode.
- The socket is corroded, wet, or the lens is cracked: Repair the socket, seal, or housing first. A new bulb will not fix a bad ground, corrosion, or water leak.
- Considering an LED: Proceed only after confirming the exact part and electrical behavior. Check dim-to-bright operation, warnings, flash rate where applicable, and local requirements.
- Unsure of the base or function: Pause the purchase. Compare the manual, bulb label, contact layout, and a clear photo of the old bulb base.
LEDs draw less current than many incandescent bulbs, and some vehicle monitoring or flasher systems can respond with a warning or rapid flashing. That symptom does not prove the bulb is defective. First confirm the correct bulb and full seating; then follow the vehicle and bulb makers’ guidance. Do not add a resistor or decoder without diagnosing the issue. Load resistors can become hot; any installation must follow its instructions and keep heat away from plastic, wiring, and trim.
Color and function matter
Use the bulb color and lens combination specified for the lamp. For US vehicles, NHTSA’s interpretation of FMVSS 108 says required tail and stop lamps are red. Requirements for other lamps and jurisdictions can differ. See the NHTSA interpretation on rear lamp color and verify current rules where the vehicle is registered. A product listing is not a substitute for checking the vehicle’s required lamp color and function.
Test every function before putting the trim back
- With the vehicle parked, turn on the tail/parking lamps and confirm both sides illuminate evenly.
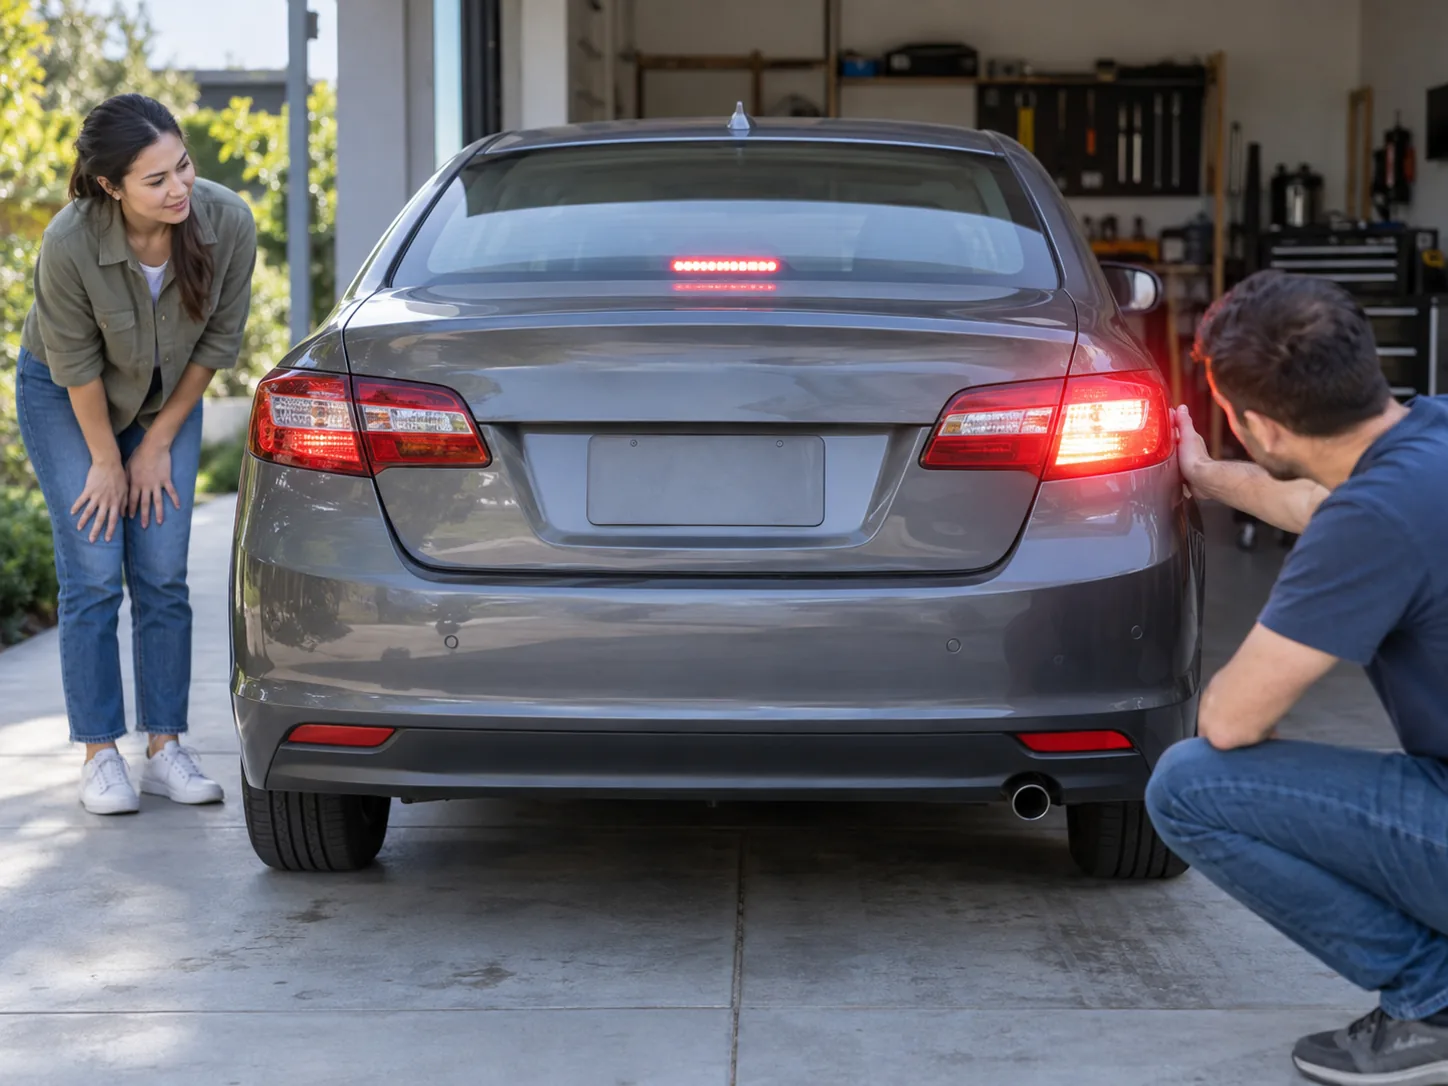
- Press the brake pedal and confirm the brake lamps become clearly brighter on both sides. Ask another person to check, or use a safe reflection.
- Test turn signals and hazards if they share the housing. Confirm a normal flash rate and check the dashboard for warnings.
- Test reverse lamps separately if you worked on a shared assembly. Refit the housing and seal only after every function passes.
Stop and seek help if you find a melted socket, burning smell, recurring fuse failure, persistent rapid flashing, or a lamp that will not seal. Do not drive with a brake lamp that fails to signal reliably.
Frequently asked questions
How do I know whether I need 7443, 3157, or 1157? Check the owner’s manual for that exact position and compare the printed code and base on the old bulb. Wedge versus bayonet and single versus dual function help identify it, but do not replace the manual’s fitment information.
Can I use 7440 instead of 7443? Not where the lamp needs the dual tail/brake function. Match the specified code and test both brightness levels.
Why does an LED brake or signal bulb hyperflash? The vehicle’s flasher or monitoring system may react to the lower electrical load. Verify bulb type and seating first, then consult the vehicle and bulb documentation before adding hardware.
Can I replace only one side? Follow the vehicle maker’s guidance. Replacing aged bulbs as a pair can help keep appearance and output more consistent; keep a functional old bulb as a spare if appropriate.
Your next step
Before shopping, record the exact bulb code, whether the position is single- or dual-function, the base style, and the lens color. If those checks confirm a compatible brake/tail LED and its required functions, you can review current AUXITO brake and tail bulb listings. This collection does not confirm your vehicle’s fitment. ModernCarGear may earn a commission if you purchase through this affiliate link, at no extra cost to you.
Comments are closed!