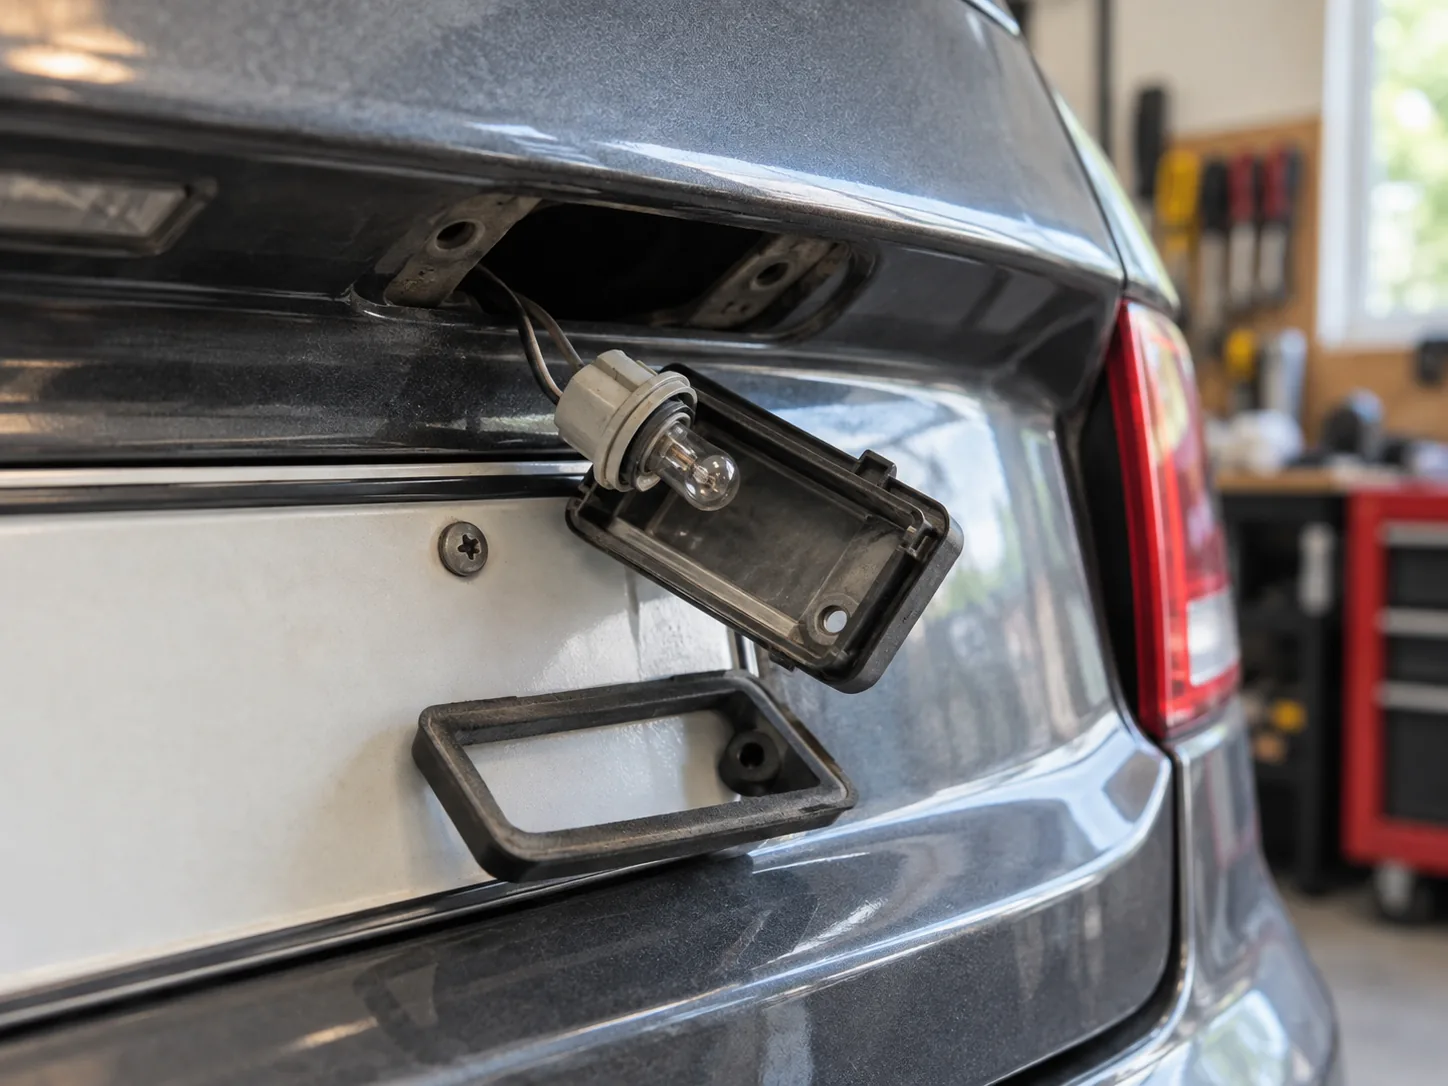

If a license plate light is out, do not start by ordering a “194,” “T10,” or LED kit. Those labels are not vehicle-specific fitment results. First determine whether your car has a replaceable bulb, a complete lamp assembly, or an electrical fault. The correct part depends on the exact vehicle and lamp position.
Quick decision
| What you find | Sensible next step |
|---|---|
| The owner’s manual lists a replaceable bulb for the rear license-plate lamp | Note the exact bulb designation and confirm it against a VIN-specific parts listing before buying. |
| The manual lists a lamp/module or directs you to dealer service; no bulb socket is shown | Look up the complete assembly by VIN. Do not pry open a sealed unit. |
| A replacement bulb is installed but the light remains out | Stop buying bulbs and check the vehicle-specific troubleshooting path for the fuse, socket, connector, or wiring. |
| The lens is cracked, loose, wet inside, or the socket is corroded | Resolve the damaged housing, seal, or connection first; a new bulb alone will not fix it. |
Find the part for your car
Use this order of checks. It avoids treating a popular bulb number as universal fitment.
- Record the full vehicle details. Write down model year, make, model, trim, and market. If the parts catalog asks for it, use the VIN. A mid-year change, trim package, or replacement liftgate can affect the installed part.
- Open the exact owner’s manual. Search its maintenance or “bulb replacement” section for license plate light, rear license plate lamp, or light bulbs. Note whether it gives a replaceable bulb and a designation, describes a complete lamp, or directs the owner to service. The distinction changes what you should order. Follow the instructions for your exact model year and trim rather than applying another vehicle’s procedure.
- Cross-check the service part. Search the manufacturer’s parts catalog using the VIN, or ask a dealer parts counter to confirm the rear plate lamp bulb or assembly. If the manual and catalog disagree, use the VIN-specific catalog or ask the parts counter to resolve it before ordering.
- Compare the part already on the vehicle only when the manual permits access. If it is safe and straightforward to reach, photograph the old bulb markings, base, connector, and housing. A previous owner may have installed a non-original part, so use this as a cross-check, not the only source. Do not force a lens or probe wiring to identify a part.
The result you want before checkout is an exact bulb or assembly number tied to your vehicle—not just a bulb-family name from a marketplace listing.
Bulb, assembly, or electrical problem?
The symptom helps decide what to investigate next, but it does not prove which part failed:
- One lamp is out: the bulb, socket, connector, or lamp assembly may be involved. Verify which component the manual identifies as serviceable.
- Both lamps are out: check the owner’s-manual troubleshooting information before replacing two bulbs. A shared fuse or circuit issue may be possible, but fuse locations and circuit layouts vary by vehicle.
- The light works intermittently: corrosion, moisture, a loose connector, or damaged wiring may be more relevant than the bulb type. If inspection requires removing trim or testing a powered circuit, use a qualified technician.
- The lens is cloudy or damaged: identify the housing or seal as well as the light source. Replacing a bulb will not repair a cracked lens or water path.
Do not replace a fuse with a higher-rated one or keep fitting bulbs when a fuse blows repeatedly. The vehicle manual or a technician should guide diagnosis of a recurring electrical fault.
Should you switch to LED?
Consider an LED only after the car is confirmed to use a replaceable bulb and the exact fitment is verified. Before buying, compare the product’s stated base and dimensions with the vehicle-specific part information. Check whether the manufacturer documents compatibility with your vehicle’s monitoring system; do not assume “CANbus,” “error-free,” or “fits most vehicles” guarantees a match.
If the listing does not identify the bulb type, dimensions, and relevant vehicle compatibility—or if your car uses an integrated module—pause and confirm with the vehicle or product manufacturer. Keep the original part until the replacement is confirmed to work and fit without pressure on the lens or housing.
In the United States, FMVSS No. 108 covers original and replacement lamps. Section S6.1.3.3 addresses mounting a license-plate lamp so it illuminates the plate without obstruction by a designed vehicle feature, subject to the section’s stated exception. This federal equipment standard is not a complete answer for every aftermarket change or local inspection; check the rules that apply where the vehicle is registered. Read 49 CFR 571.108, section S6.1.3.3.
Before you order
- I have the correct year, make, model, trim, and market (and VIN if needed).
- The exact manual identifies a replaceable bulb or serviceable lamp assembly.
- I have cross-checked the part number in a VIN-specific catalog or with a parts professional.
- If choosing LED, the product page confirms the base, dimensions, and applicable compatibility details.
- I am not trying to solve a damaged housing, corroded connector, repeated fuse failure, or wiring fault with a different bulb.
If any fitment box is still uncertain, the next step is to verify the part—not to guess and order. For broader exterior-light topics, continue to the Exterior Lights hub. For a position-by-position lookup workflow, see the car light-bulb size guide.
Sources and verification notes
- 49 CFR 571.108, eCFR — S3 covers replacement lamps; S6.1.3.3 provides the federal license-plate lamp mounting/illumination requirement discussed above. Not a survey of state/local retrofit rules.
Comments are closed!