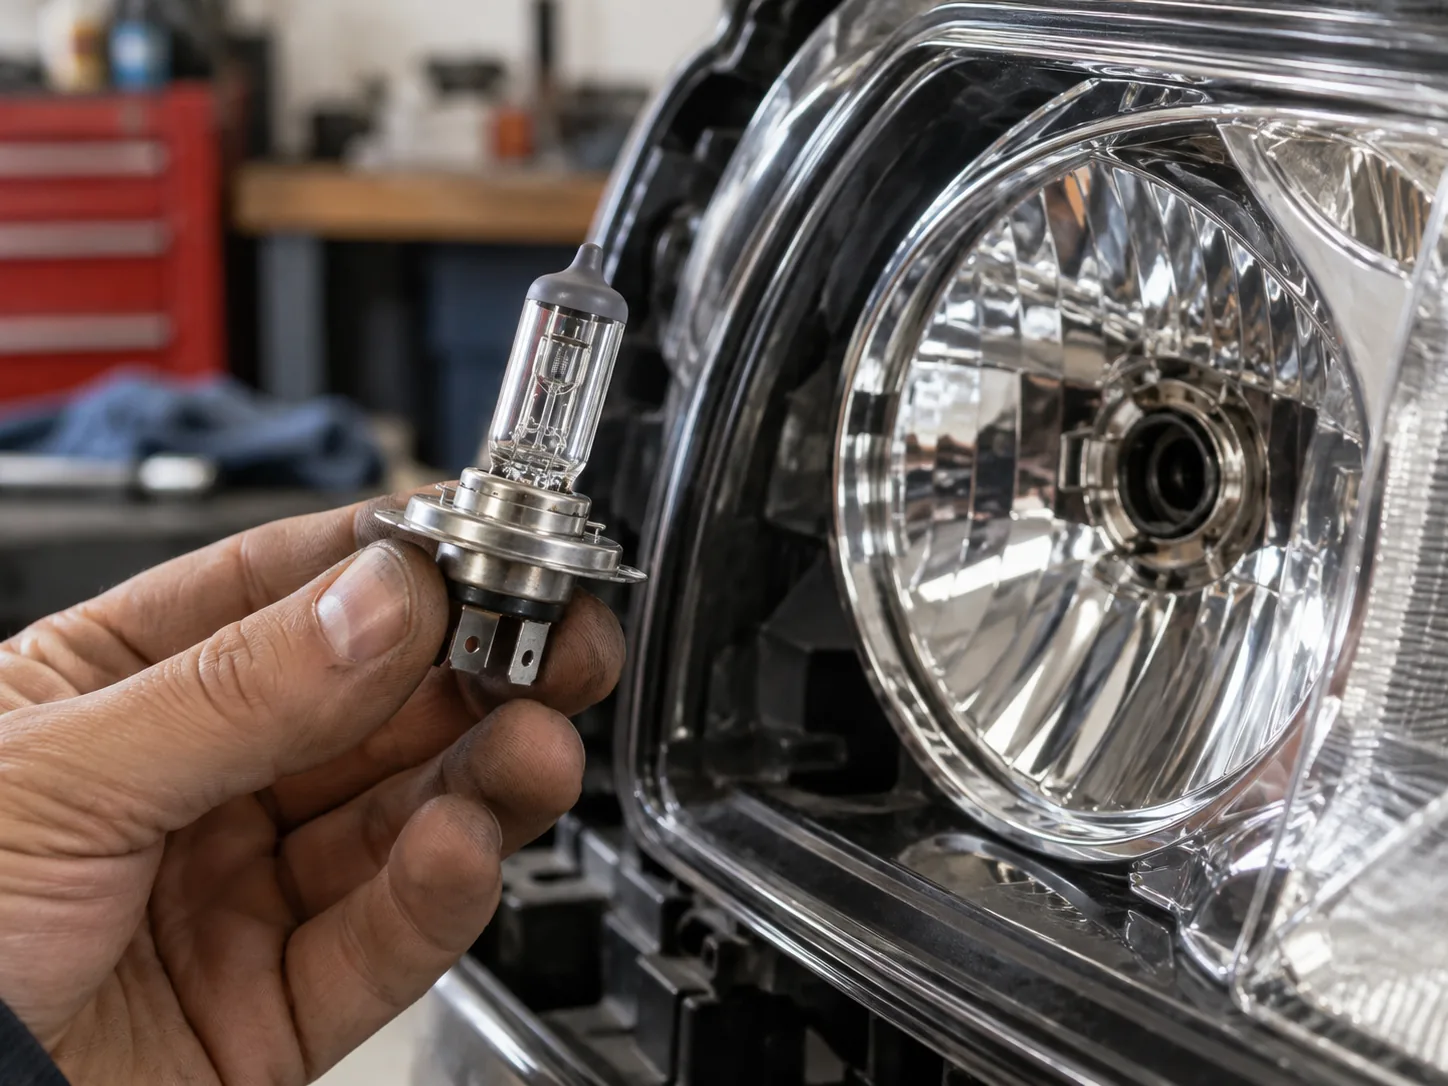

When an H4/9003 replacement lights up but the low and high beams no longer behave as expected, the upgrade has not passed its basic check. Treat this as a two-function lamp: identify what the vehicle specifies, verify both modes after installation, and stop if the beam pattern cannot be brought back under control.
OSRAM describes its LEDriving HL ALLSEASON H4 as an LED replacement for conventional H4 high- and low-beam lamps, but its product page explicitly says it is off-road only and not for public-road use. This example confirms OSRAM’s stated lamp application, not fitment for your car, performance in another maker’s conversion, or permission for road use. See OSRAM’s product description and use limitation.
First decide whether H4/9003 is actually your service bulb
Check the owner’s manual for the exact headlamp position and compare that entry with the marking on the existing bulb. Record model year, trim, body style and market. A search result or a product title that groups H4 and 9003 is not a vehicle-specific lookup. AUXITO’s catalog groups H4/HB2/9003 under its product family, but your vehicle documentation still has to identify the correct service bulb. If the manual and installed part disagree, confirm the service part by VIN before ordering. If the vehicle has an integrated LED module rather than a replaceable bulb, stop looking for a generic H4 bulb.
Use the two-mode check, not a “it turns on” check
Both low and high beam work
That confirms basic switching only. It does not confirm beam aim, distribution, or road suitability. Continue with the vehicle’s specified aiming procedure; do not treat a quick wall glance as proof of correct aim.
One mode is missing or does not change when switched
The connector, seating, product design, or vehicle circuit may be involved; the symptom alone does not identify which one. Switch off, follow the product and vehicle instructions, and check the connector and bulb orientation once. If the fault remains, reinstall the specified bulb or get qualified diagnosis rather than adding a decoder or resistor by guesswork.
The low beam has obvious stray light or remains mis-aimed
Do not keep using the conversion at night just because the lamp illuminates. Refit the specified bulb or ask a qualified lighting shop to inspect and aim the assembly using the vehicle’s procedure.
Before installing: check the one-bulb details
- Base and retainer: the bulb must sit flat and the original holder must lock normally. Do not bend tabs or force the spring clip.
- Orientation: use the exact product’s diagram. Do not borrow a clock position from a different LED model.
- Rear clearance: include the driver, wiring and cooling parts. The original dust cap should close and seal without pressure on the bulb.
- Vehicle functions: check the manual for DRL, flash-to-pass or monitoring behavior that uses this circuit. Do not add a decoder or resistor by guesswork.
After fitting: test each mode separately
- With the vehicle stationary, verify low beam and high beam independently; ask a helper to confirm the lamps from outside if needed.
- Check that the bulb does not move, the retainer is locked, wiring is not pinched and the cap seals.
- Inspect the low-beam pattern and high-beam aim according to the service procedure for your vehicle. If you cannot tell whether the pattern is controlled, arrange a proper inspection rather than adjusting by guesswork.
- If a mode fails, flickers persistently, triggers a warning or creates visible glare, switch back to the specified bulb and diagnose the cause.
Road-use check for U.S. drivers
NHTSA’s February 13, 2024 interpretation stated that, as of that letter, no LED replaceable light source was listed for use in a replaceable-bulb headlamp under FMVSS No. 108. It also distinguishes federal manufacturing requirements from state treatment of an individual vehicle modification. This is dated federal guidance, not a current state-by-state legal determination; check the rules that apply to your vehicle and location before using a conversion on public roads. Read the NHTSA interpretation.
When the original bulb is the sensible choice
Keep the specified bulb if the manual does not confirm H4/9003, the holder will not lock without modification, the cap cannot seal, or either beam cannot be checked and aimed correctly. A replacement that fits the socket but fails the low/high-beam check is not a successful fit.
Compare H4/9003 options after the vehicle check
AUXITO’s H4/9003 collection shows the brand’s current listings; it does not prove fitment or beam performance for a specific vehicle. If your manual and original bulb confirm this code and the physical checks pass, compare current AUXITO H4/9003 options and verify the exact item’s dimensions, instructions and return terms before ordering.
Disclosure: ModernCarGear may earn a commission if you purchase through this affiliate link, at no extra cost to you. See our affiliate disclosure.
Related guides
- Browse published lighting guides in the Car Lighting hub.
- Compare AUXITO H4/9003 listings after confirming the bulb code and lamp position.