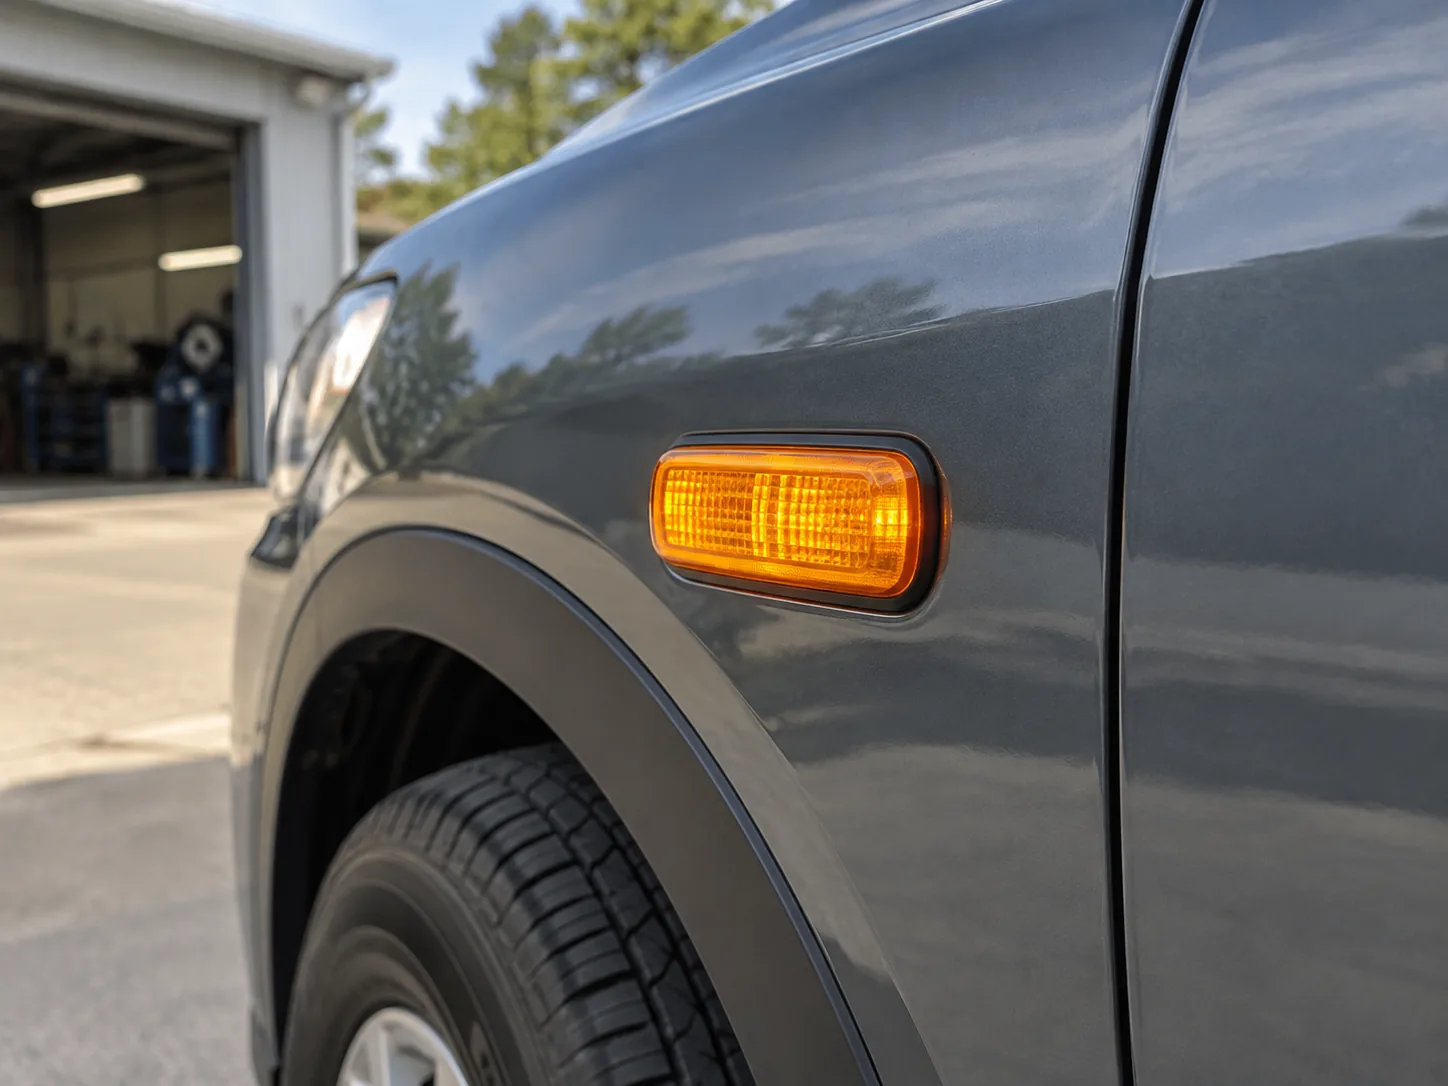

A side marker can be a replaceable bulb, a bulb-and-socket unit, or a sealed lamp assembly. Those are different repairs. Before ordering, identify the exact vehicle and side, check whether the failed part is serviceable, and confirm the original visible color and function. A socket number by itself does not tell you whether the whole lamp can be opened.
First decide: bulb or complete assembly?
- Record year, make, model, trim, body style, and vehicle market.
- Use the owner’s manual’s exterior-lighting section to find the exact marker position: front fender, bumper, or rear quarter.
- Check whether the manual gives a replaceable bulb code and procedure, or identifies a complete lamp.
- Compare the manual with a VIN-specific parts lookup for the affected side. Left/right assemblies and integrated marker/turn-signal units can differ.
| What the vehicle information says | Next step |
|---|---|
| A replaceable bulb and code are listed | Match that code, color, and socket to the exact side and position. |
| The lamp is listed as an assembly, or no bulb service is described | Look up the complete lamp by VIN, side, connector, and trim; do not pry open a sealed housing. |
| Manual and catalog disagree | Pause and ask a dealer or qualified parts supplier to confirm by VIN. |
Match color and function to the original lamp
Do not choose color from a product photo alone. Identify whether the marker is toward the front or rear, whether it is combined with another lamp, and what the vehicle’s original configuration calls for. In a 1970 interpretation of FMVSS No. 108 concerning passenger cars manufactured on or after January 1, 1970, NHTSA described amber front side markers and red rear side markers. This is historical context, not a current legal survey for every vehicle class, model year, modification, or country. Check current requirements where the vehicle is registered and preserve the vehicle’s required lighting function.
A clear lens does not prove that any bulb color is appropriate. Match the required visible output and function, then verify the exact product listing. If the marker also flashes with a turn signal, test both steady and flashing modes after repair.
If the marker fails again after rain
Repeated failure after rain or a wash is a reason to inspect the lamp, not just buy another bulb. If visible without disassembly, look for water behind the lens, a cracked housing, a displaced gasket, or corrosion at an accessible connector. Do not probe wiring or open a sealed assembly. If water is pooled, wiring is damaged, or the light remains out with the correct part installed, have the housing and circuit checked.
Before placing the order
- Exact vehicle, trim, market, side, and lamp position are known.
- The repair path is confirmed: bulb, socket, or full assembly.
- The part number matches a VIN-specific catalog and the original lamp.
- Color and any combined turn-signal behavior match the vehicle’s required configuration.
- The replacement can be installed using the vehicle’s service procedure without forcing or modifying the housing.
If one item is still unknown, pause and verify it. This guide intentionally does not recommend a generic bulb because side-marker fitment and serviceability vary by vehicle.
Related guides
- Browse the Car Lighting hub for published exterior-light guides.
- See the license-plate light guide if you are also checking another small exterior lamp.