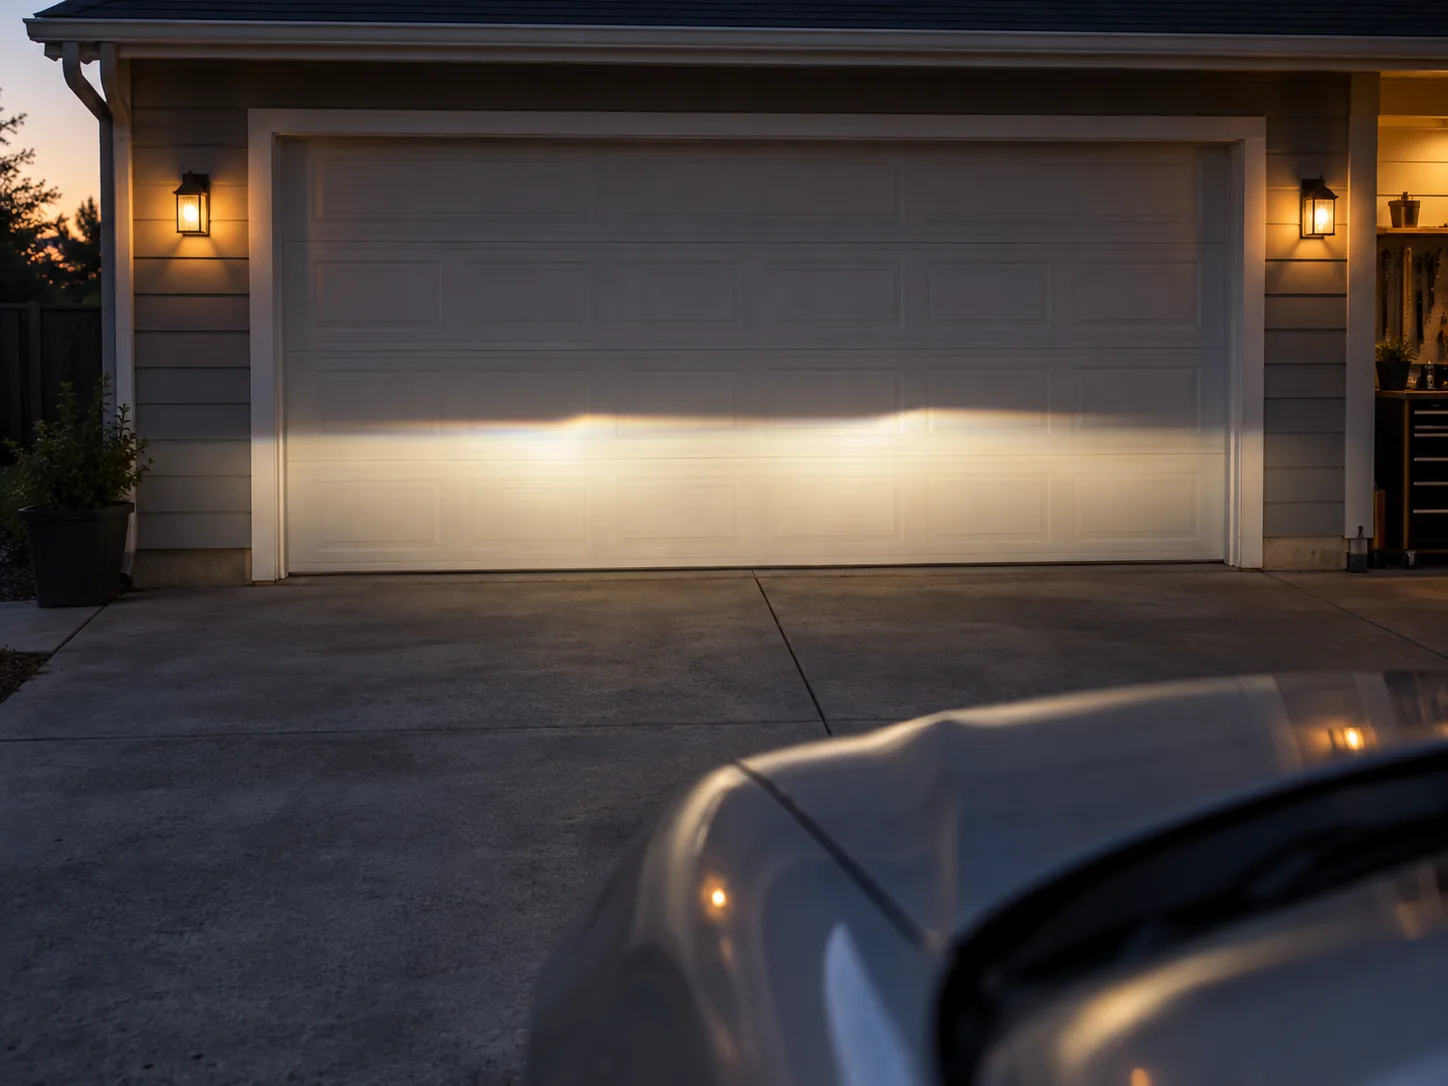

If the road looks dark or oncoming drivers flash you, do not start by turning an adjuster. A poorly seated bulb, damaged lens, wrong load or incorrect headlamp aim can create similar symptoms. This guide shows what you can safely check at home, what must come from your vehicle’s manual, and when to stop and book a professional alignment.
Quick decision: inspect, adjust, or book a shop?
- You replaced a bulb and one beam looks wrong: Recheck the bulb code, seating, and retainer before touching aim.
- Both beams look off and vehicle setup is uncertain: Set tires, load, and parking surface to the manual’s conditions, then inspect again.
- You cannot identify the correct aiming target: Do not guess at the adjusters; book an alignment check.
- Damaged housing, collision history, changed ride height, or faulty adjuster: Repair the underlying problem and have aim professionally verified.
Copy the vehicle-specific aiming values before you touch an adjuster: the screen distance, lamp reference/target or specified drop, beam mode, vehicle load condition, and permitted adjuster axis/direction. If the manual does not give a usable procedure or calls for an optical aimer, stop at inspection and use a qualified shop. Do not borrow measurements from another model.
Prepare the vehicle before reading the beam
- Park on a genuinely level surface facing a vertical wall or approved aiming screen. The vehicle must be square to it; a sloping driveway or angled parking position makes the pattern misleading.
- Set tire pressures to the door-jamb specification, remove unusual cargo, and use the vehicle load/fuel condition stated in its aiming instructions.
- Clean both lenses. Confirm both bulbs are the correct type, fully seated and retained, with connectors latched and dust caps installed.
- Check that the body is not visibly leaning and that the suspension has settled. If one corner is low, fix that cause before aiming.
- Find the manufacturer’s aiming instructions and locate the specified reference marks, distance, beam and adjuster. Do not assume every car uses a 25-foot setup or the same cutoff drop.
Use the wall as a screening check
Follow your manual for the exact distance and target. If it specifies a wall procedure, mark the reference points from the headlamp’s aiming marks—not an estimate from the hood—and switch on the beam the manual identifies, usually low beam. Compare left and right patterns separately. A clear difference can point to a seating, bulb, housing or aim problem; it does not by itself tell you which adjuster to turn.
Some headlamps have a distinct cutoff; others use a different optical pattern. Do not apply a projector-style cutoff diagram to a lamp that does not produce one. If you cannot identify the manufacturer’s target line or reference marks, stop at observation and arrange a professional aim check.
If the manual permits adjustment, make only small controlled changes
- Photograph the initial beam and adjuster positions so you can return to the starting point.
- Use only the adjuster and direction specified for your lamp. Do not force a stuck or brittle plastic adjuster.
- Change one axis at a time in small increments, then recheck against the manual’s target. Avoid changing horizontal aim unless the procedure explicitly calls for it.
- Recheck both headlamps and any beam mode affected by the adjustment. Reinstall covers and confirm they seal normally.
Do not raise the low beams just because distant visibility feels weak. Aiming them too high can put light in other drivers’ eyes without fixing a dim, hazed or incompatible lamp. Likewise, “no one flashed me” is not a measurement of correct aim.
Diagnose the pattern before blaming aim
| What you notice | Check first | Next step |
|---|---|---|
| One beam is much higher or less defined | Bulb fully seated, correct part and retaining clip | Correct the installation, then repeat the manual’s check |
| Light scatters upward or has no expected shape | Bulb type, seating, damaged lens or housing | Do not compensate with adjusters; have the assembly inspected |
| Both beams point unusually high or low | Vehicle load, tire pressure, ride height and surface level | Correct setup and use the model-specific procedure |
| Adjuster turns but pattern does not move | Broken adjuster or internal mounting | Stop; repair or replace the affected assembly |
| Wall pattern seems right but road visibility remains poor | Clouded lens, weak bulb, dirty windshield or electrical fault | Diagnose the underlying issue; aim is not a brightness repair |
When to stop and get professional help
- The service procedure requires an optical aimer or you cannot find reliable aiming marks.
- The adjuster is stripped, seized, cracked or disconnected.
- The beam remains asymmetric after confirming bulb seating and vehicle setup.
- The lens or housing is damaged, wet, or visibly loose.
- The vehicle has been in a front-end collision or its suspension/ride height has changed.
- Other drivers experience persistent glare after the manufacturer’s procedure.
A shop can check aim with the appropriate equipment and distinguish an adjustment issue from a bad bulb, damaged reflector/projector, suspension problem or incorrect assembly. If your vehicle is subject to a required inspection, follow that jurisdiction’s inspection procedure as well.
What the official references establish
NHTSA’s FMVSS No. 108 materials address headlamp requirements and aiming provisions, but the correct service target for an individual vehicle still comes from its manufacturer. A vehicle owner’s manual demonstrates why a single wall recipe is unsafe to generalize: Ford’s 2012 Super Duty manual gives a specific 25-foot procedure for that model. Do not transfer its measurements or adjuster directions to another car.
References: NHTSA FMVSS No. 108 test procedure (regulatory aiming context); 2012 Ford Super Duty owner’s manual excerpt (a vehicle-specific 25-foot example, not a universal spec).
FAQ
Is 25 feet the correct distance for every car? No. It is used in some manufacturer procedures, including one Ford Super Duty example. Follow the exact instructions for your vehicle and headlamp.
Can I use a wall to adjust headlights? Only when the manufacturer provides a compatible wall procedure and target. Otherwise, use a qualified shop with the required aiming equipment.
Should I turn the horizontal adjuster? Not unless the service procedure directs it. Some lamps have restricted or fixed horizontal aim, and guessing can worsen glare.
Could a new bulb cause a bad beam? Yes. A wrong bulb or one that is not fully seated can distort the pattern. Confirm part number and installation before changing aim.
Does this guide recommend a bulb or product? No. The safe next step is to identify the cause and follow the vehicle-specific procedure; an affiliate purchase is not needed to check aim.
Comments are closed!